
Fitting and setting up Falcon coilovers
Fitting FalcX coilovers, step by step: front, rear, ride height, damping and the checks after. One job per step, so you can follow it with the car on stands.
You’re atFitting and setting up Falcon coiloversJump to
Before you start
Read this through once before the car goes up. FalcX coilovers are a direct bolt-on: each one goes in where the factory shock was, with no cutting or modifying. Give yourself plenty of time the first time.
Rather not do it yourself? Any suspension or alignment shop can fit them.
What’s in the box
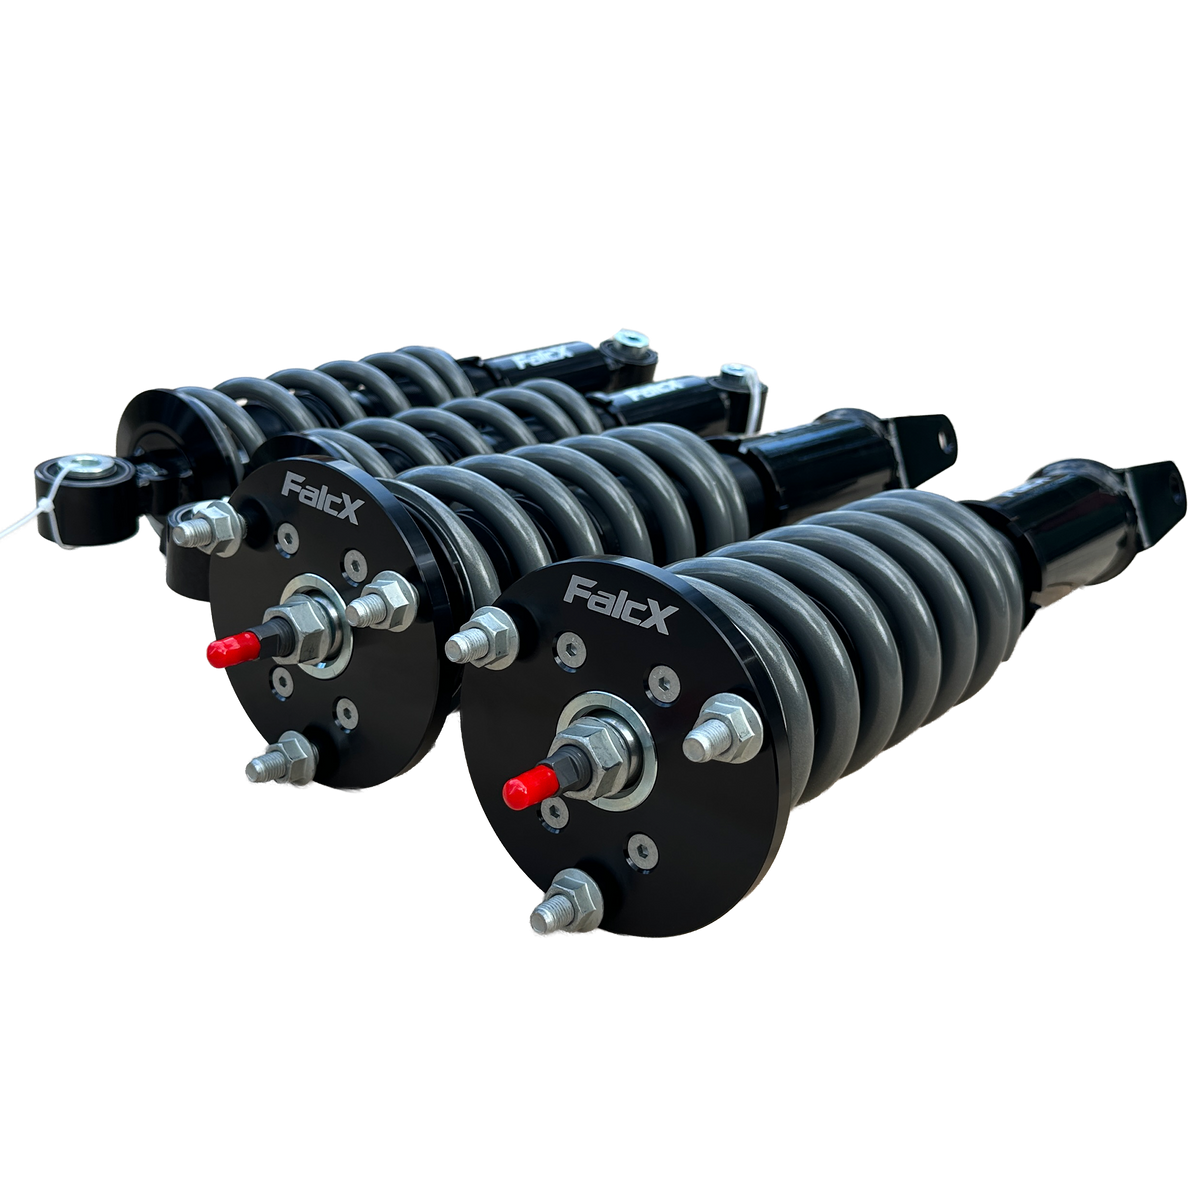
- Front pair: two front coilovers, ready to install.
- Rear pair (BA, BF, FG and FGX sedans): two rear coilovers, ready to install.
- Full set: the front pair and the rear pair.
Check the parts against your order before you start. Something missing or not right? Text 0449 887 291 and we’ll sort it out.
The kits: BA–BF Falcon coilovers, FG–FGX Falcon coilovers, EA–AU Falcon front coilovers and the BA–FGX rear coilovers for sedans.

Tools
-
Step 1: Check the parts match your Falcon: series, body style, front or rear.
The fitment guide lists every series and body style.
-
Step 2: Measure from the hub centre to the guard at each corner, and write it down.
Measure from the centre of the wheel straight up to the edge of the guard. This is your starting point when you set the height.
Every FalcX front pair, EA to FGX
Front install
Do one side at a time. Your factory workshop manual has the torque figures for your series.
-
Step 1: Loosen the front wheel nuts while the wheels are still on the ground.
-
Step 2: Raise the front and support it on stands. Never work under the car on the jack alone.
-
Step 3: Remove the wheel.
-
Step 4: Unbolt anything attached to the factory unit, such as the brake line bracket and the sway bar link.
Keep each bolt with the part it came from.
-
Step 5: Support the lower arm with a jack.
So nothing drops when the unit comes out.
-
Step 6: Undo the lower bolts.
-
Step 7: Undo the top-mount nuts, holding the unit so it can’t drop.
-
Step 8: Remove the factory unit.
Don’t undo the centre nut on top of the old unit: the spring under it is compressed.
-
Step 9: Fit the FalcX coilover where the factory unit was.

FalcX front coilovers (BA–BF pair). -
Step 10: Start the top nuts by hand first.
-
Step 11: Fit the lower bolts.
Raise the jack under the arm a little if the holes don’t line up.
-
Step 12: Refit the brake line bracket and the sway bar link.
-
Step 13: Tighten everything to the factory workshop manual torque.
Don’t have the figures? Text 0449 887 291 with your series.
-
Step 14: Refit the wheel, lower the car, then torque the wheel nuts.
-
Step 15: Do the other side the same way.

BA, BF, FG and FGX sedans
Rear install
The FalcX rear is a true coilover: it replaces the factory rear shock and the separate factory coil spring.
-
Step 1: Loosen the rear wheel nuts while the wheels are still on the ground.
-
Step 2: Raise the rear and support it on stands. Never work under the car on the jack alone.
-
Step 3: Remove the wheel.
-
Step 4: Support the lower arm with a jack.
-
Step 5: Remove the factory shock.
-
Step 6: Lower the jack slowly until the factory coil spring is no longer under load.
If the spring is still tight with the arm all the way down, stop and use spring compressors.
-
Step 7: Lift out the factory coil spring. It does not go back in.
-
Step 8: Fit the FalcX rear where the factory shock was.

FalcX rear coilovers for BA to FGX sedans. -
Step 9: Seat the lower mount in the rear knuckle. If it won’t seat, turn it 180 degrees.
The lower mount has a machined clearance, so it only goes in one way. Don’t force it.
-
Step 10: Tighten everything to the factory workshop manual torque.
Don’t have the figures? Text 0449 887 291 with your series.
-
Step 11: Refit the wheel, lower the car, then torque the wheel nuts.
-
Step 12: Do the other side the same way.

Setting the ride height
Set the height on every corner you’ve fitted before you touch damping. Height is set with the adjuster rings on the threaded body.
-
Step 1: Lower the car onto its wheels and roll it back and forth a few metres to settle it.
-
Step 2: Measure hub centre to guard at each corner, not to the ground. Write it down.
-
Step 3: Raise the corner you want to change and support it on a stand, so its weight is off the coilover.
-
Step 4: Loosen the lock ring with a C-spanner.
-
Step 5: Turn the adjuster ring to raise or lower that corner.
Small changes at a time. Not sure which way, or how far your kit can go? Text 0449 887 291 before you go very low.
-
Step 6: Lock the rings against each other.
-
Step 7: Lower the car, roll it to settle, and measure again. Repeat until it’s right.
Setting the damping
Once the height is right, set the damping.
-
Step 1: Start soft, and write down the setting you started on.
-
Step 2: Set both sides of each axle the same.
-
Step 3: Drive the car on roads you know.
-
Step 4: Go firmer a step at a time until the car feels right on the roads you drive.
After the install
Changing ride height changes camber and toe, so the job isn’t finished until the alignment is done.
-
Step 1: Check every bolt you touched is torqued, and the adjuster rings are locked.
-
Step 2: Take a short, slow drive and listen for knocks or rubbing.
-
Step 3: Re-check the wheel nuts, top-mount nuts and adjuster rings after that first drive.
-
Step 4: Check them again after the first few days of driving.
-
Step 5: Drive for about a week so the car settles, then re-check the height.
-
Step 6: Get a wheel alignment.
Ask for the before and after printout. More in wheel alignment after lowering a Falcon.
-
Step 7: If you change the height again later, get the alignment checked again.
Stuck?
The problems people run into, and what to do.
The rear won’t seat in the knuckle
The lower mount has a machined clearance and only goes in one way. Turn it 180 degrees and try again. Don’t force it. Still stuck? Text a photo to 0449 887 291.
Does the factory rear spring go back in?
No. The FalcX rear is a true coilover and replaces the factory rear shock and the separate factory spring. Take the factory spring out, then set the height with the adjuster rings.
I can’t turn the adjuster rings
Take the weight off that corner first: raise it and support it on a stand. Loosen the lock ring before you turn the adjuster ring, and use C-spanners that suit the rings.
One side sits lower than the other
Roll the car back and forth a few metres, then measure hub centre to guard on both sides again. Adjust the low side with the adjuster rings, then lock them.
I don’t have the torque figures
They’re in the factory workshop manual for your series. Can’t find them? Text 0449 887 291 with your series and body style.
There’s a knock or rattle after fitting
Stop and check every bolt you touched, the top-mount nuts, and that the adjuster rings are locked against each other. Still there? Text a short video to 0449 887 291.
The car pulls, or the steering wheel is off centre
Get a wheel alignment. Changing ride height changes camber and toe.
It rides too hard or too soft
Change the damping a step at a time, and keep both sides of each axle on the same setting. Text us for a starting point for your kit.
The parts don’t look right for my car
Stop before you fit anything. Text a photo of the parts and the car to 0449 887 291, and check the fitment guide.
Who to text
Text 0449 887 291 with your series, body style, which corner, and a photo or short video. Or email sales@falcx.com.au. We’re in Nerang, QLD.
Something not right? Text us and we’ll sort it out.
- Fitment guideWhat fits each Falcon, sedan, ute and wagon
- Falcon coiloversFront pair, rear pair and full set
- Which spring rate?Standard, 18 kg or 22 kg at the front
- Wheel alignment after loweringCamber, toe and when you need arms
- BA–BF fitting notesWhat to know before you start on a BA or BF
- Replacement front springsSold as a pair, if you want a different rate later